I started finishing up several of my Bath and Body Works candles, and I wanted to do something with them. There are a few tutorials out there on how to transform old candles. I like this one because it's specifically for fall and quite easy to do. Enjoy!
How to Clean Out Your Candle:
Step 1: Put your candle in the freezer for several hours.
Step 2: Use a butter knife to break up the candle wax. It will easily break into chunks and fall out.
Step 3: Wash the jar out with soap and water. The front label will peel off easily.
Step 4: Use the butter knife to scrape off the bottom label after getting it wet.
Step 5: The bottom, side, and inside of the candle will be sticky from wax and labels. Remove any stickiness with Goo Gone and some paper towels. Rinse out afterwards.
Step 6: Dry the jar, and it's all clean!
How to Add Fall Leaves:
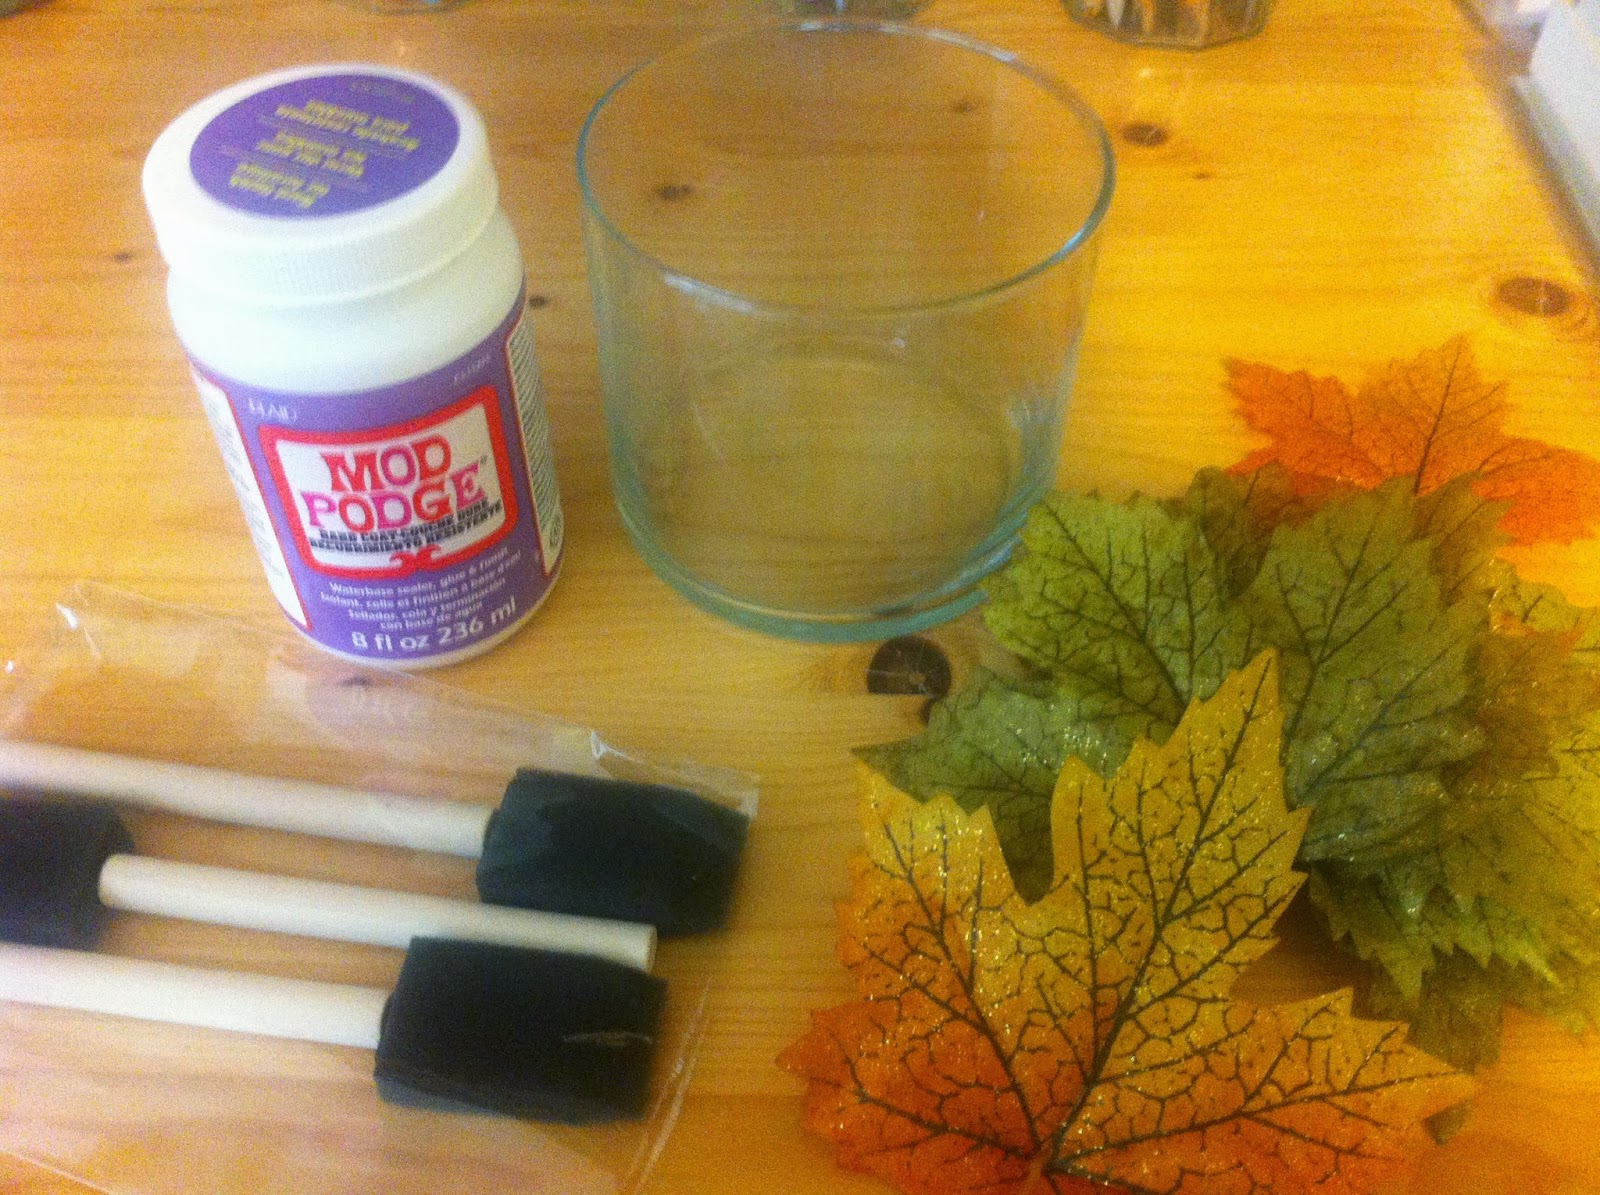
You Will Need:
- Mod Podge (I'm using Hard Coat)
- Sponge brushes
- Fake leaves (mine are from Michael's)
- Your clean candle-free jar
- Scissors (not pictured)
- LED tea lights (not pictured and optional)
Prep your leaves. Mine came on a large stick in the flowers section of Michael's so I had to cut all the stems off. I separated each color into piles so that I could see my color options. Using scissors, cut up the center of each leaf, about 3/4 up the leaf. If you don't do this, it's extremely difficult for the leaf to lie flat on the jar.
Using the brush, apply liberal amounts of Mod Podge to the back of the leaf.
Carefully place the leaf on your jar. Often, parts of the leaves be too big and stick out over the top of the jar. I like the way it looks when a few of the leaves stick over like this. However, if you don't you can fold the tops over and adhere them to the inside of the jar with Mod Podge.
Once you have placed down the leaf, start applying Mod Podge to the top of it as well. Always go a bit over so that the edges stick down. Not all of the parts of the leaf will stick down, just try to press down so that most of the leaf adheres to the jar. Once the leaf is mostly dry (the white will fade to clear) you can start putting on more leaves.
Here I added 2 more leaves next to the original I placed on the jar. I like to have them overlapping a bit, but not too much. It all depends on your preference. I recommend not putting on more than 2 at a time, since the leaves do tend to slip a bit when they're first put on and it's easier to deal with just a few.
Here is the same shot a few hours later. I propped my jar on its side while it dried, since standing it upright would cause the leaves to slide down. In this photo, it's mostly dry, but when it's completely dry all of the white will have turned clear. I alternated the position of the leaves. some were straight up, others were angled, and some were on their sides. After you have all of the leaves on, let the jar sit overnight so that it is completely dry.
As a final touch, I placed an LED tea light in the jar. You can use a real tea light, just be sure to keep an eye on it. I like this kind because it's a special Electronic Flickering kind that I purchased from Michael's. It looks like a real candle is burning through the leaves.
Here's the final product! Have a happy and crafty fall!!


No comments:
Post a Comment